How to Maintain UPM Package Part 1
Originally published on Medium
This is the first post of a series of articles about best practices of managing a UPM repository on GitHub. See part 2, part 3, and part 4.
To create a UPM repository, the first question is how to organize the directory structure. There’re two popular choices:
- UPM package at the root path
- Unity project at the root path, with UPM package at a sub-folder
UPM package at the root path
The UPM package.json file is located at the root path of the master branch. Since Unity 2019.3 the package manager offering a button to install a package via git URL. The simplest directory structure will just work.
However, to develop and test a UPM package, you still need a Unity project. Just create a local Unity project and install the UPM package as a local UPM package. A local UPM package is mutable. The Unity editor will generate metafiles, which are necessary when delivering the package later.
You end up with a directory structure like below:
upm-package/ # the git checkout
  package.json
local-unity-project/
  Assets/
  Packages/
  manifest.json # depends on ../upm-package
UPM package at a sub-folder
The master branch is a Unity Project. The UPM package.json is located at a sub-folder, like Assets/package-name or Packages/package-name. The benefit is obviously that everything is under version control. While it’s better to place the package in Packages/package-name than the Assets folder. The package will be visible in the Unity packager manager as a local package, you can preview how it behaves.
However, the repository URL cannot be directly installed via the package manager, because of missing the package.json at the root path. You can simply rely on Adding UPM Packages which can locate the package.json at any folder, and publish package for you. Or to give audiences more choices, you can provide an upm branch. As the name suggested, the package.json should be placed at the root path.
The process of creating an upm branch is usually done by git subtree split, a command to split a sub-folder to another branch/repository while keeping history. It’s a very powerful tool, but we will focus on the split sub-command for now.
git subtree split -P Assets/package-name -b upm
The command splits the path Assets/package-name to a new branch named upm while keeping history. If you change the master branch later, you can re-run the command to update the upm branch. The command is designed to be run multiple times without issue.
One thing to notice that you cannot change the upm branch manually. Otherwise, the split command will fail. There’s a more complicated solution by leveraging the subtree merge strategy. But to keep it simple, you can recreate an upm branch after merging the changes back to the master branch. I would suggest keep the upm branch read-only, and leave all changes to the master branch.
You end up with a directory structure like below:
upm-package/ # the git checkout
@master
  Assets/
  Packages/
    package-name/ # the local package folder
      package.json
@upm
  package.json
Creating the upm Branch with GitHub actions
While manually syncing the upm branch with the master branch is not ideal. Let’s use the GitHub Action to automate the process. A GitHub action is a CI script that can be triggered at push/pull requests.
Add a file named ci.yml to the .github/workflows folder in the master branch.
.github/workflows/ci.yml
Let’s explain the GitHub action step by step.
on:
  push:
    branches:
      - master

steps:
  - uses: actions/checkout@v2
    with:
      fetch-depth: 0
The action only runs when you push to the master branch. The first step is checking out the repository. The parameter fetch-depth: 0, means checkout all history, which is necessary. By default the checkout@v2 action will only keep depth 1, makes the command git subtree split fail on the second run.
git subtree split -P "$PKG_ROOT" -b upm
Create the upm branch from the environment variable $PKG_ROOT, which points to Packages/package-name for this example
git push -u origin upm
Push the new upm branch to the remote.
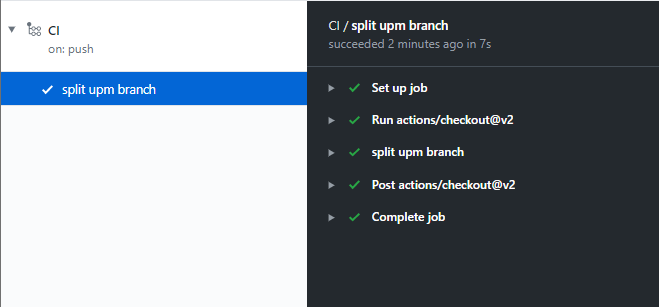
That’s it. Commit all files to git and push to remote. You will find an up-to-date upm branch every time you push to the master branch.
Handling the samples folder
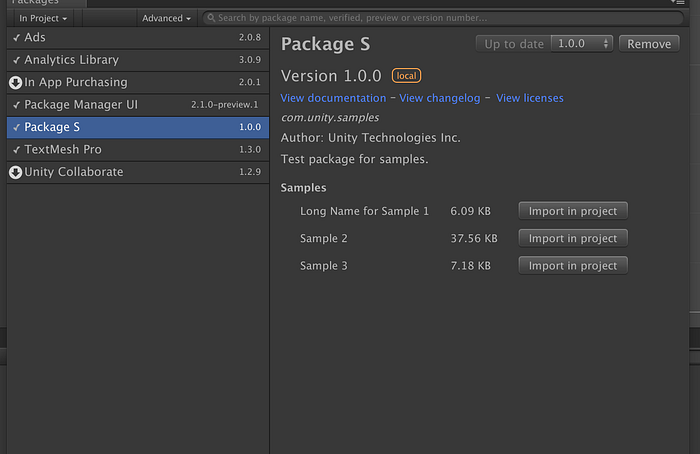
Shipping samples with a UPM package is a new feature introduced with Unity 2019.1. You can include a list of samples (scene + assets) to demonstrate the package usage. Samples will be listed in the package detail page of Package Manager. Clicking import in the project imports a sample into the Assets folder.
It is recommended to put your samples files into the Samples~ folder. Folder’s name with ~ suffix won’t import to Unity. So when importing a sample into the Assets folder, Unity won’t complain about the duplication of metafiles.
Package Root/
  package.json
  Samples~/
    Demo1/
      Demo1.scene
      Demo1.scene.meta
      ...
    Demo2/
To tell Unity package manager locations of the above samples, specify them in the package.json file:
{
  "samples": [
    {
      "displayName": "Sample Name 1",
      "description": "Description for sample 1",
      "path": "Samples~/Sample Folder 1"
    },
    {
      "displayName": "Sample Name 2",
      "description": "Description for sample 2",
      "path": "Samples~/Sample Folder 2"
    }
  ]
}
However, the do-not-import-me trick makes the development of samples hard. How to generate metafiles or test sample scripts without importing them into Unity?
One solution is that keep the Samples folder in version control while using a CI to rename it to Samples~. Your package.json should remain unchanged.
Let’s modify the GitHub action to handle the Samples folder.
.github/workflows/ci.yml
Let’s explain changed parts step by step.
git branch -d upm &> /dev/null || echo upm branch not found
Delete the local upm branch. This is necessary because we will change the upm branch later. To avoid the failure of the git subtree split command, we need to recreate the upm branch each time.
git subtree split -P "$PKG_ROOT" -b upm
Create the upm branch.
git checkout upm
Checkout the upm branch.
if [[ -d "Samples" ]]; then
  git mv Samples Samples~
  rm -f Samples.meta
  git config --global user.name 'github-bot'
  git config --global user.email 'github-bot@users.noreply.github.com'
  git commit -am "fix: Samples => Samples~"
fi
Rename the Samples~ folder to Sample, then commit to git.
git push -f -u origin upm
The last step, force push changes to remote. This will overwrite any differences in the remote tree.
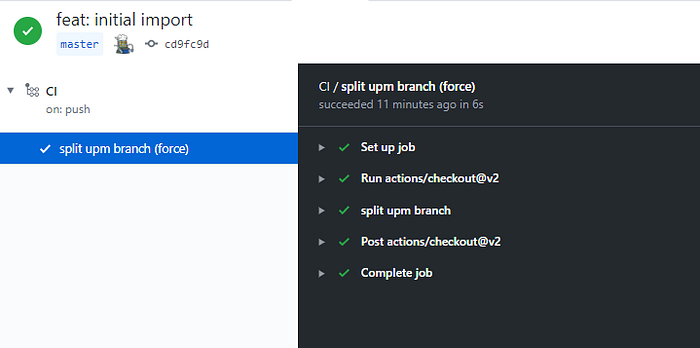
That’s it. Commit all files to git and push to remote. You will find an up-to-date upm branch every time you push to the master branch.
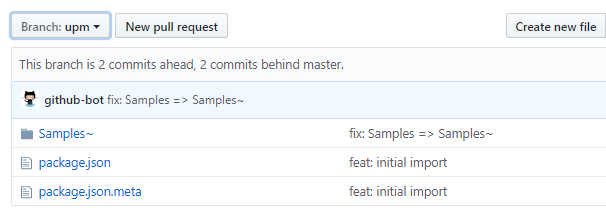
And the Samples folder is renamed to Samples~ as expected.
Conclusions
This tutorial went through different UPM repository layouts, how to use GitHub actions to create a UPM branch, and how to handle the Samples folder.
Checkout demo repositories at
- https://github.com/favoyang/upm-ci-example
- https://github.com/favoyang/upm-ci-samples-example (with Samples folder)
- NaughtyAttributes is a production-quality UPM repository deployedthe CI script.
In part 2, we’ll discuss the version control and how to automate the release process with GitHub actions.